Part 2: Choosing labels and setting up your account
Once you’ve connected your ecommerce platforms and couriers to your Zenstores account, you need to decide which labels you want to use. Different types and sizes of labels are compatible with different couriers:
Thermal labels: Thermal labels are shipping labels printed using a thermal transfer label printer - they don’t require ink, toner or ribbon.
Standard thermal labels are 6’ x 4’, however thermal labels for APC and DPD vary slightly.
Integrated labels: A sticky labels that’s part of an A4 sheet - often used to print invoices or packing lists on the same sheet as an address label. They allow you to print all the necessary paperwork on one A4 sheet using a regular inkjet or laser printer.
Zenstores supports the Crocodile LZ05 integrated label.
Avery address labels: A brand of A4 label that enables you to print a whole page of address labels at once.
Find out more about different kinds of ecommerce shipping labels here.
What kind of printer do you need to print shipping labels?
For printing shipping labels through Zenstores the printer that you need will depend on which type of label or which courier you are going to be shipping with. You’ll need a thermal label printer for printing thermal labels - two of the best are the Zebra GK420D and the Dymo LabelWriter 4XL. While for integrated and Avery address labels, you can use an inkjet printer or laser printer.
Setting up company details in your account
Before you start printing labels you need to make sure that you enter all of your company details into your Zenstores account, as well as setting up tax rates and setting your collection address. You can also add a logo and notes to your invoices.
Customise your invoices in Zenstores
Adding a logo to your invoice makes it looks more professional and will help to establish and build your brand.
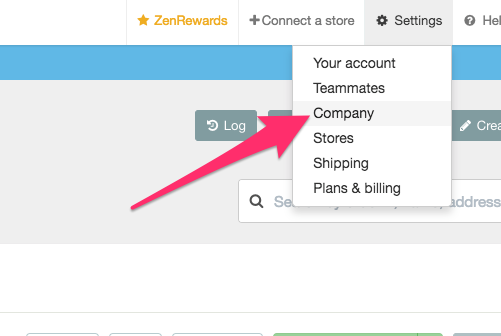
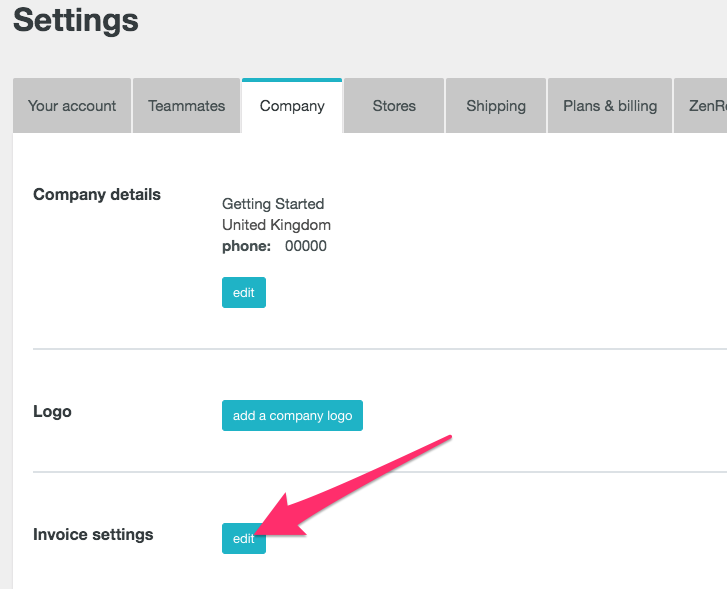
- Hover over ‘Settings’ then click ‘Company’
- Click ‘add a company logo’ button
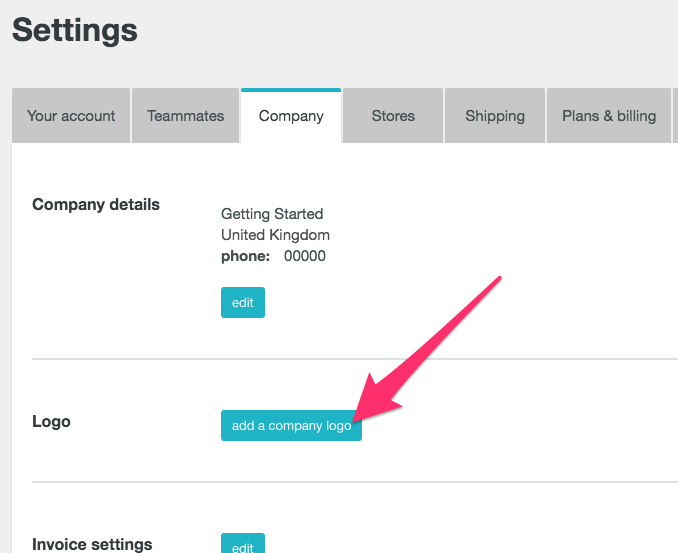
- You can then upload your company logo by clicking ‘Choose file’ and selecting your images as prompted. Then click ‘Save’.
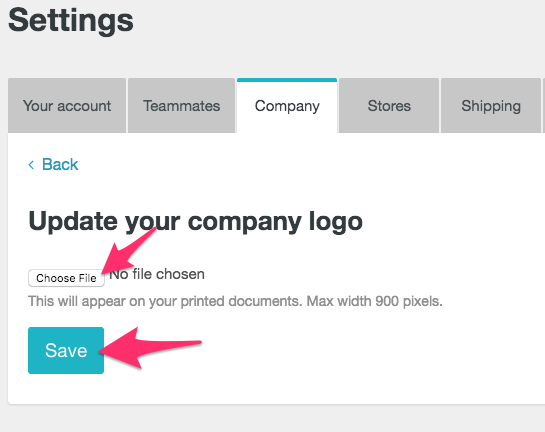
- Your logo should then appear on your Company settings page - now it will appear on any invoices and packing slips that you print through Zenstores.
Adding a note to your invoices
By adding a note to your invoices you can thank customers for their order, offer them a discount on their next orders, or let them know of any sales or offers that are coming up.
- Under the company settings page, scroll down to ‘Invoice settings’. Click 'edit'.
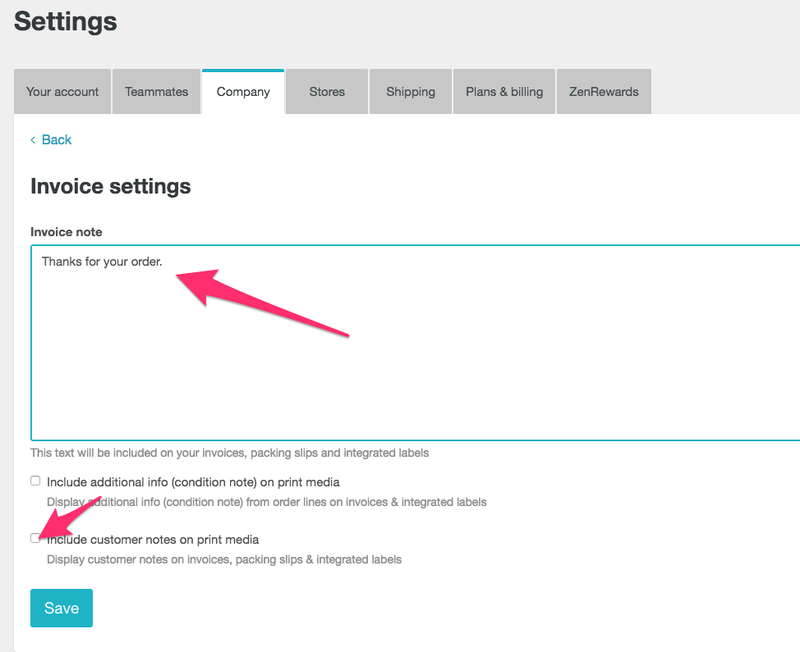
- In the 'Invoice' note text box type your message. If you want this message printed on paper invoices, packing slips and integrated labels as well then check the ‘Include customer notes on print media’ box. Then click ‘save’.
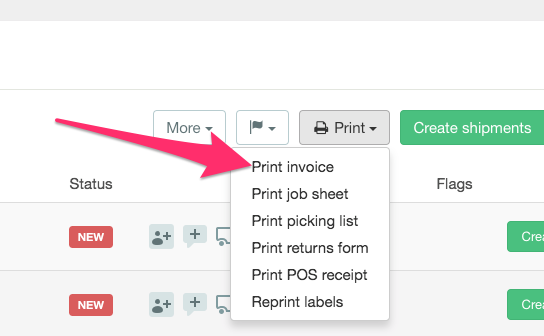
- You can preview how the invoice note will look by selecting an order and clicking ‘print invoice’ - your invoice will appear as a print preview and you can see the message.
Setting up tax on your invoices
If an order is imported into your Zenstores account and it already has a tax value, like an eBay product, then Zenstores will automatically use that value on your invoices. If your imported orders don’t have a tax value, for example Amazon products, then you can set up your own tax rates in Zenstores.
Hover over ‘Settings’ and click ‘Company’.
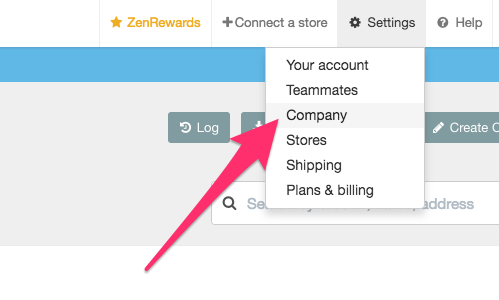
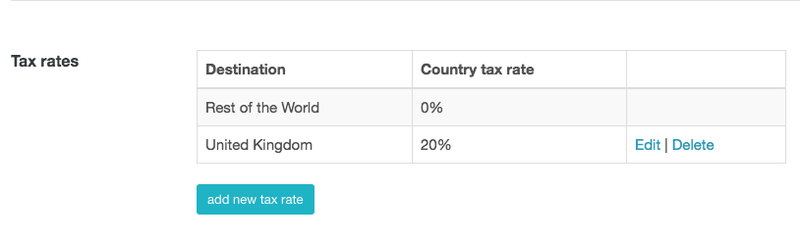
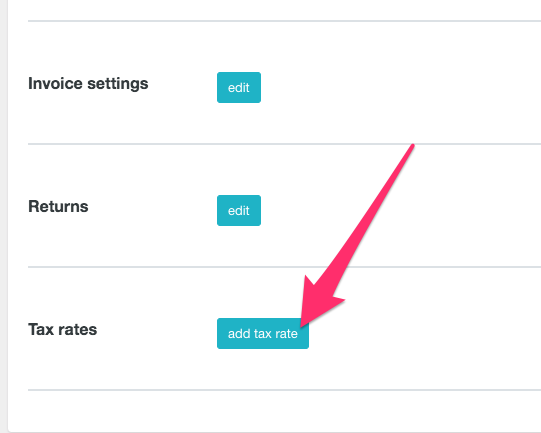
Scroll down to ‘Tax rates’ section and then click ‘Add tax rate’
Select your country from the drop down menu, then enter the percentage of tax.
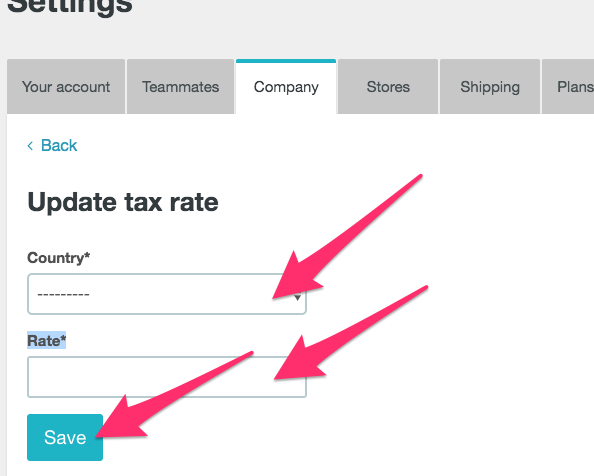
You need to have a separate tax rate for each country that you sell to - Zenstores automatically detects the country for new orders and looks up the relevant tax rate and calculates the tax that’s been charged based on the total order price.